
Mould on curtains can trigger allergies, damage fabric, and spread spores if left untreated. But what if your curtains are dry-clean only, too delicate for machine washing, or simply too large to remove easily? Luckily, you don’t need a washing machine to eliminate mould from curtains. From vinegar sprays to professional mould cleaning services, this guide covers everything you need—without damaging delicate fabrics.
To remove mold from curtains without washing, consider using alemon juice, vinegar solution, baking soda paste, or a commercial mould cleaner. Apply any of these solution directly at the affected area to clean it.
Quick Way to Clean Mould Off Curtains
- Brush off dry mould outdoors (prevents spore spread).
- Apply stain remover (homemade or commercial).
- Spot-clean, don’t machine wash (avoid fabric damage).
- Air-dry in sunlight (natural disinfectant).
What Causes Mould to Grow on Curtains?
Mould thrives in:
- Humid areas (bathrooms, kitchens)
- Poor ventilation (trapped moisture)
- Organic fabrics (cotton, linen)
The Effects of Mould Growth on Health
A 2023 study by the Indoor Air Quality Association found that 72% of homes with mouldy curtains had higher airborne spore levels, triggering allergies and respiratory issues.
Below are some of the adverse effects of mould on your health:
- Allergic Reactions: Sneezing, runny nose, red eyes
- Asthma Triggers: 40% of asthma sufferers are sensitive to mould (WHO data)
- Mycotoxin Exposure: Can cause neurological symptoms in severe cases
Effective Methods to Remove Mould From Curtains (Without Washing)
To remove mould from curtains without washing them, follow the step by step procedure below:
Tools & Supplies You’ll Need
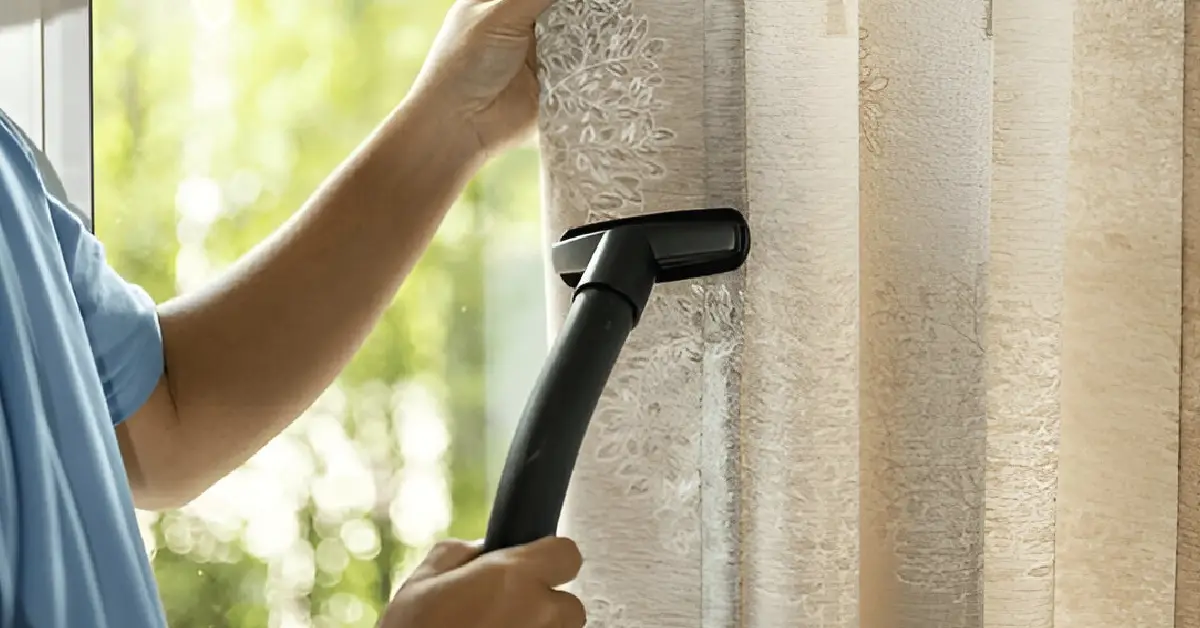
✔ Vacuum with brush attachment
✔ White vinegar
✔ Baking soda
✔ Spray bottle
✔ Soft-bristle brush
✔ Microfiber cloths
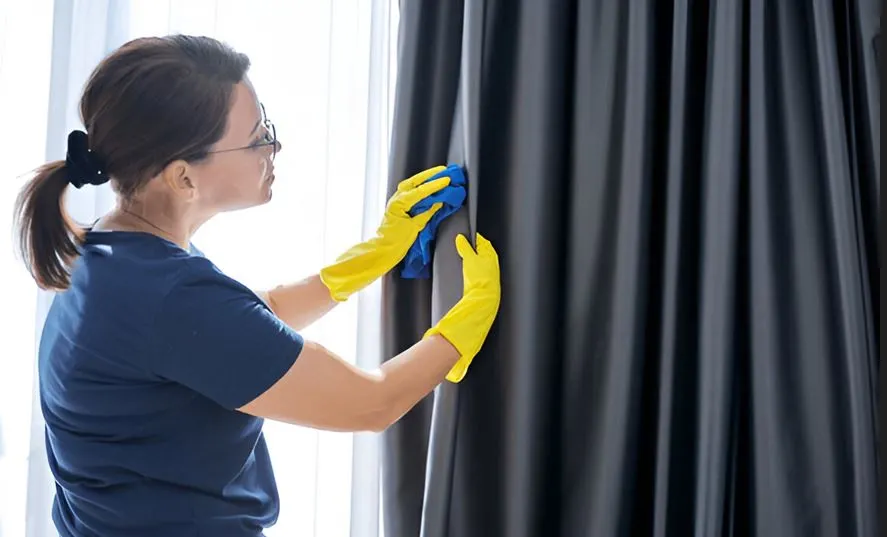
✔ Gloves & mask
Step 1: Safety Preparation & Initial Inspection
Before touching the mould, protect yourself and your space. Mould spores become airborne during cleaning and can cause respiratory issues. Wear an N95 respirator mask, nitrile gloves, and safety goggles.
Open windows for ventilation but close interior doors to prevent spore spread. Lay down plastic sheeting beneath the curtains if working indoors.
Carefully inspect the curtains to identify all affected areas – mould often hides in pleats, hems, and the backside facing windows. Use a flashlight to reveal subtle growth. Note any delicate fabric details (embroidery, beading) that need special care.
Step 2: Dry Spore Removal (Outdoor Method)
Take the curtains outside on a dry, windless day. Hang them over a clean clothesline or railing, placing an old sheet underneath to catch debris.

Using a soft horsehair brush (never stiff plastic bristles that damage fibers), gently sweep downward in long strokes from top to bottom. This directional brushing prevents spores from being ground deeper into the fabric.
For heavy growth, hold a vacuum cleaner with HEPA filter 6 inches from the surface while brushing to immediately capture loosened spores. Pay special attention to seams and folds where mould roots deepest.
Step 3: Targeted Stain Treatment
Create a cleaning station by laying the curtain flat on a plastic-covered table. Mix a solution of 1 part white vinegar to 3 parts lukewarm water in a spray bottle, adding 5 drops of clove essential oil for enhanced antifungal action.
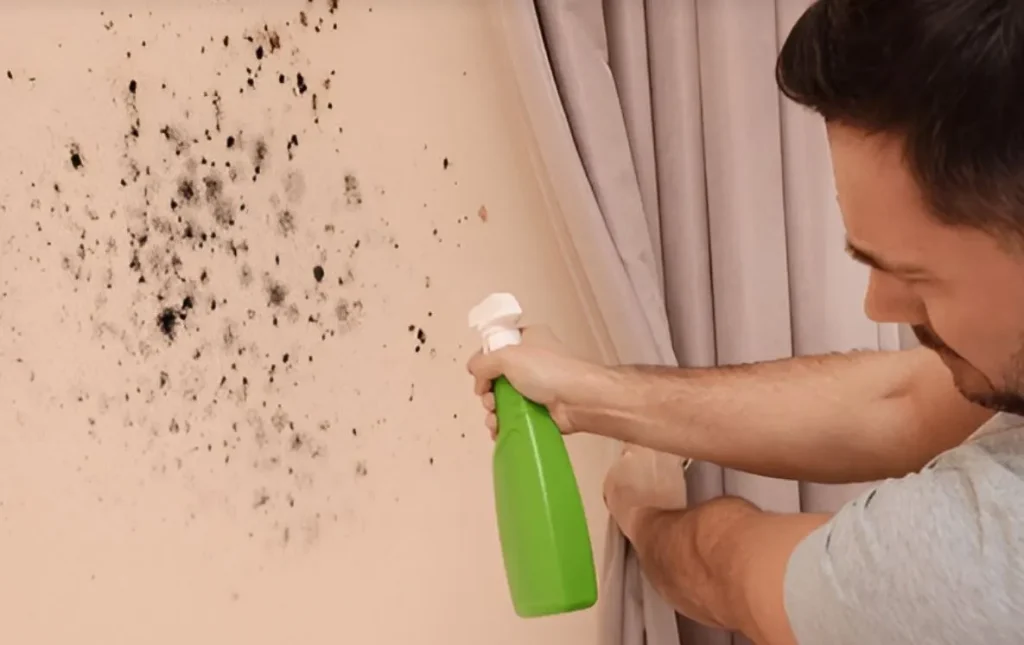
Test on an inconspicuous corner first. Lightly mist affected areas until damp but not soaked. For stubborn black mould spots, make a paste of baking soda and hydrogen peroxide (3% solution) to the consistency of toothpaste.
Using a wooden craft stick, apply a thin layer only to stained areas – this prevents overwetting the fabric. Let sit for 20 minutes as the bubbling action lifts stains from fibers.
Step 4: Mechanical Cleaning Process
After treatments penetrate, take a clean white microfiber cloth and fold it into a pad. Starting at one edge of the treated area, use small circular motions with moderate pressure, turning the cloth frequently to avoid redistributing mould.
Change cloths as they become soiled. For textured fabrics like velvet, instead use a soft-bristle toothbrush to gently “flick” mould out of crevices while holding a vacuum nozzle nearby. Periodically check progress by dabbing with a dry cloth – if yellow stains persist, reapply treatment.
Step 5: Neutralization & Deodorizing
Once visible mould is gone, neutralize remaining spores by lightly spraying with chilled green tea (high in tannins that inhibit regrowth). Immediately blot with paper towels. For lingering musty smells, sprinkle finely ground activated charcoal over the back of the curtain and let sit for 1 hour before vacuuming with an upholstery attachment. In humid climates, follow with a light mist of vodka (diluted 1:1 with water) which kills odour-causing bacteria without leaving residue.
Step 6: Controlled Drying & Finishing
Hang curtains immediately in indirect sunlight – direct sun can fade colors while the fabric is damp. Use plastic clips on hems instead of metal hangers that might rust. Position a fan 4 feet away to ensure airflow to both sides of the curtain.
Every 30 minutes, gently shake the curtains to redistribute moisture and prevent water marks. For thermal-backed curtains, dry flat with the lining side up, placing moisture-absorbing silica packets between folds.
Step 7: Preventative Protection
Once completely dry, apply an invisible shield by lightly spraying with a fabric-safe mould inhibitor (look for products containing chitosan). Using a clothes steamer held 12 inches away, go over both sides – the heat helps activate protective treatments.
Finally, install curtain hooks to maintain a 1-inch gap between fabric and wall for ongoing air circulation. Consider placing moisture-absorbing products like DampRid in the room for continuous protection.
Prevention: Keeping Curtains Mould-Free
Preventing mould growth on curtains requires a proactive, multi-layered approach that addresses both environmental factors and maintenance routines. Unlike reactive cleaning, proper prevention stops mould before it starts, saving you time and protecting your health. Let’s explore the most effective strategies.
1. Humidity Management (30-50% Ideal Range)
Mould spores activate at 60%+ humidity, making moisture control critical. Use a hygrometer (under $20) to monitor levels. In damp climates like Auckland, consider these solutions:
- Dehumidifiers: Place a 12L+ capacity unit near problem windows (e.g., bathrooms)
- Ventilation tricks: Run bathroom fans 20 mins post-shower, or install a PIV system (Positive Input Ventilation)
- Natural absorbers: Bags of activated charcoal or rock salt behind curtains silently pull moisture from air
2. Strategic Airflow Maintenance
Mould thrives in stagnant air. Ensure:
- 5cm clearance between curtains and walls (use magnetic curtain spacers)
- Daily “air flushing” – open windows on opposite sides for cross-breezes
- Ceiling fan use in winter (reverse rotation pulls air upward)
3. Moisture-Resistant Curtain Liners
Standard liners trap condensation. Upgrade to:
- Thermal-backed curtains with polyurethane layers (blocks 95% of moisture transfer)
- PEVA shower curtain liners (hung behind decorative curtains in bathrooms)
- Microfiber interliners – breathable yet moisture-wicking (15–15–30 per panel)
When to Call A Professional Cleaning Service for Mould Removal
You should call a professional mould cleaning agency, if:
- Mould covers >10% of curtain surface
- Recurring mould despite treatment
- Presence of black mould
- Allergy sufferers in household
ServiiPro offers commerical and residential deep cleaning services in Auckland. Contact us today to get your quote. Our highly skilled staff takes sweeps the toughest of moulds on curtains, walls, roofs, etc.